It has been a minute since I did a sewing project...3 months to be exact. I wanted to do much more DIY projects for this blog, so here is my next sewing project for you all. Today I will walk you through the process of making a fold-over clutch. I saw this on Pinterest awhile back and thought it looked like an easy enough project for me, AND something I would actually use.
Fold-Over Clutch
What you need:
- Zipper
- Thread
- Additional fabric or lining to line the inside
 |
Step 1
Determine what size clutch you want and add approximately 0.5" to each side for the seam allowance. I am using a 12" x 20" piece of material which yielded an 11" x 7" clutch when folded. I used fabric from an old pillow case for my internal fabric liner.
|
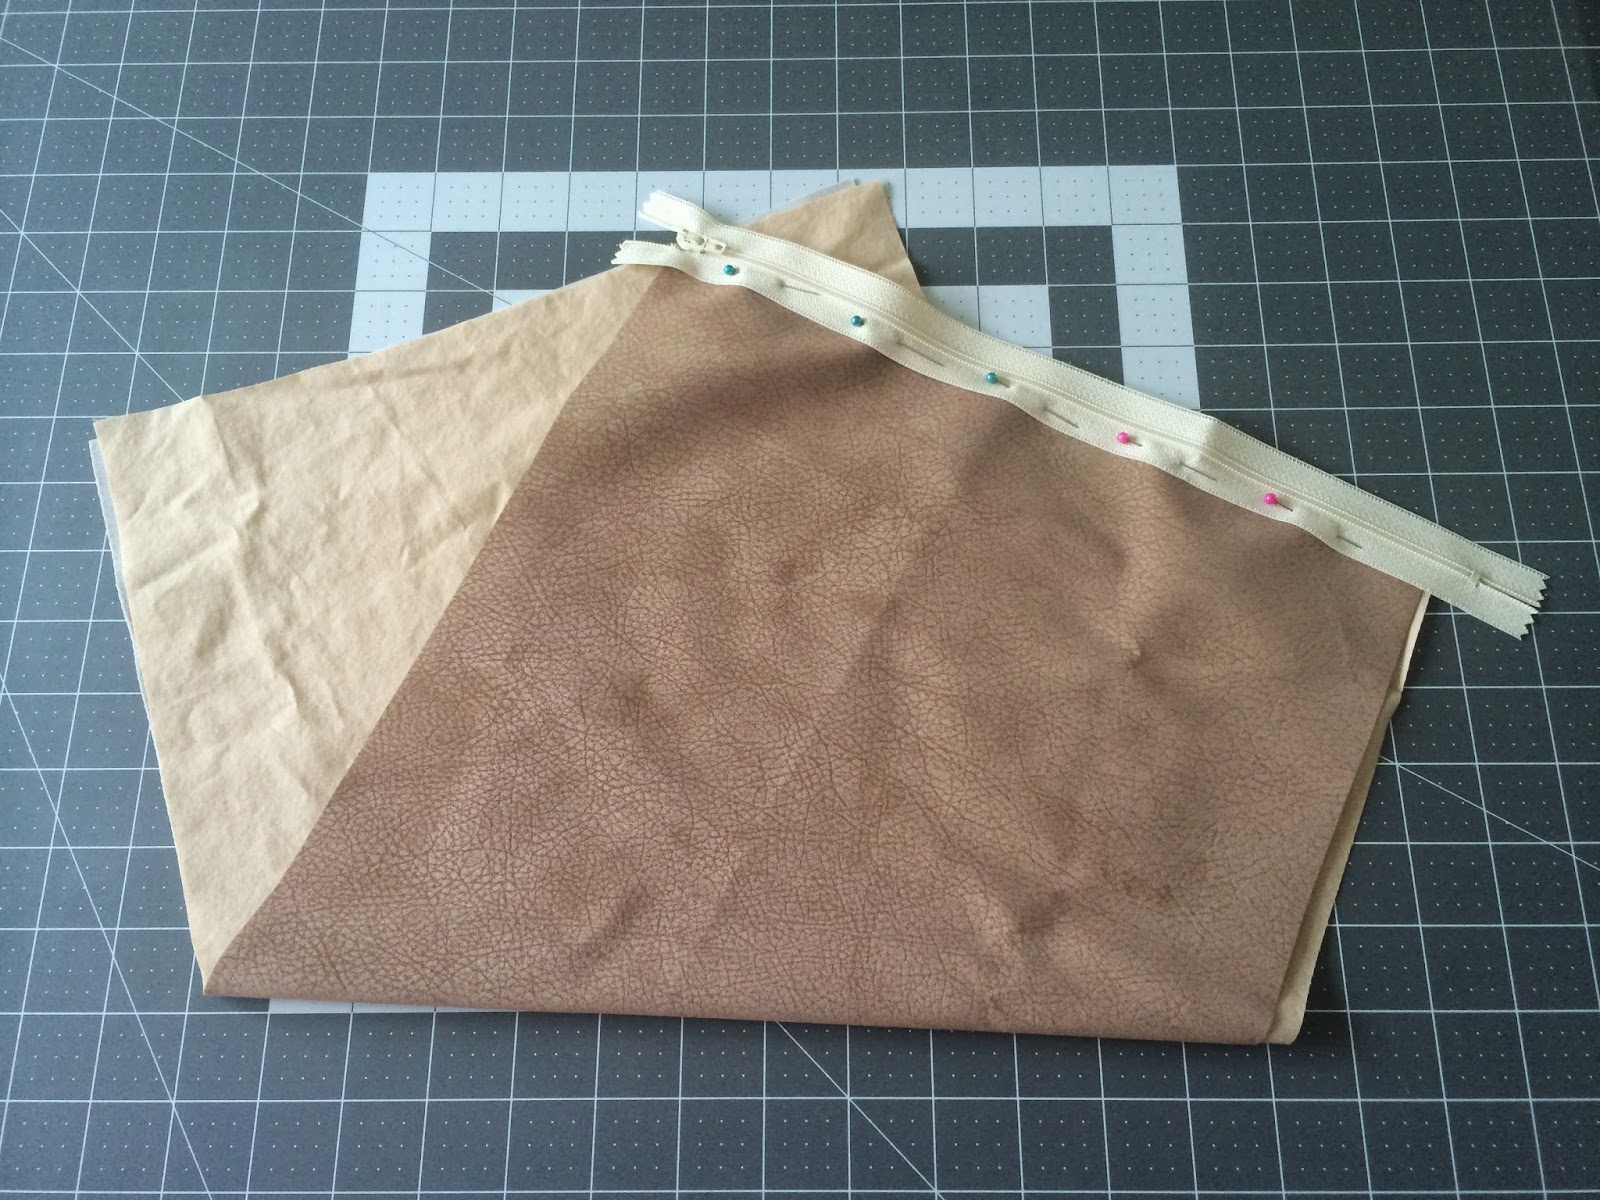 |
Step 2
Pin one edge of the zipper to the outer postion of your clutch material. (I wanted the zipper facing on the outside as I like the look, but feel free to hide the zipper away on the inside)
|
 |
| Step 2 completed. |
 |
| Step 3 Now that one side of the zipper is sewn, repeat Step 2 for the other side. |
 |
| Step 4 Both edges of the zipper should be attached now, so flip the fabric inside out. Feel free to iron out the fabric and use the iron to make a distinct bottom. (I neglected this step because I am lazy....) Pin up both sides of the inside out bag, then sew both edges to the bottom of the fabric. |
 |
| Step 4 Completed |
 |
| Step 5 On both sides of the bag at the top by the zipper, make sure to sew completely to the side edge along the zipper. This will close all openings, so nothing falls out of the clutch when you are using it! |
 |
| Step 6 Unzip the zipper and flip the bag to its correct position. Make sure to poke the bottm cornors out all the way. Voila, you now have a cute new fold over clutch :) |
I found this clutch much easier to make then my previous makeup bag tutorial. (Post Here) I will actually be using this clutch in the future and look forward to making another one of these. I just ordered some floral fabric from Etsy, so I will post a photo of the finished product on another blog post. Stay tuned ;)
- Courtney


